
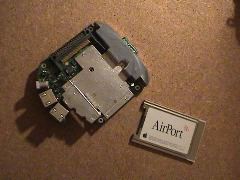
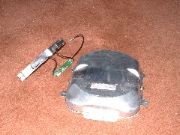
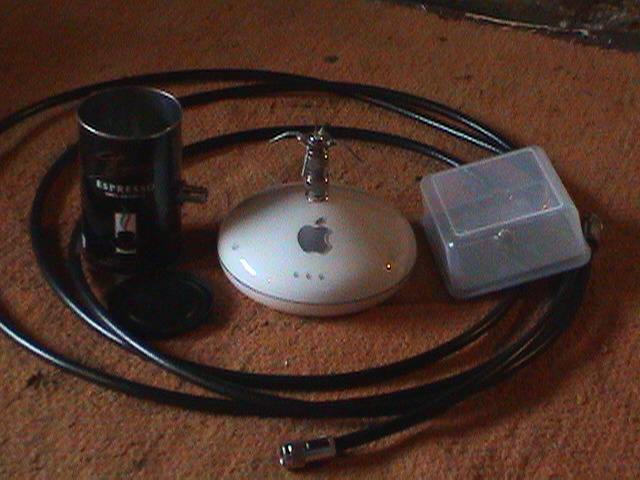
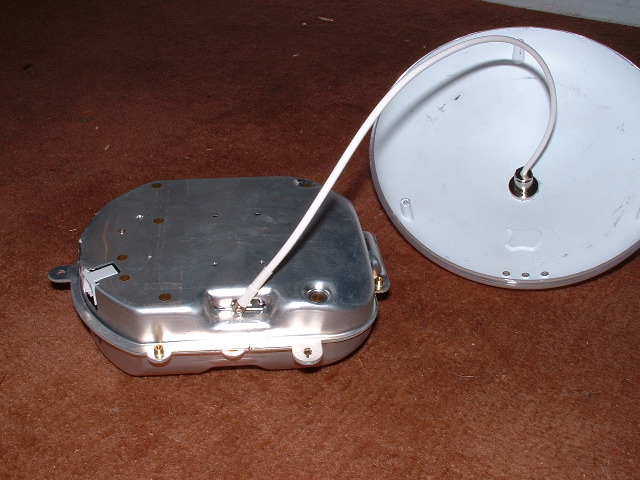
The Airport "open node in a bag" kit (enlarge)
The Airport "open node in a bag" kit (enlarge)
Apple's Airport wireless base station is a handy device that is a well-designed, solid piece of equipment that also looks good. Initially, when it first came on the market, it was arguably a little over-priced, but like most wireless equipment, over the last year, it's price has dropped considerably and it now represents excellent value for its robustness and the host of features it supports. One downside of Airport is that you need Mac OS to use the configuration utility, and moreover Mac OS X to get the full functionality from the device. The configuration utility is however very easy to use and has an excellent user interface. Also the firmware of the Airport can be easily updated using Apple's software update utility.
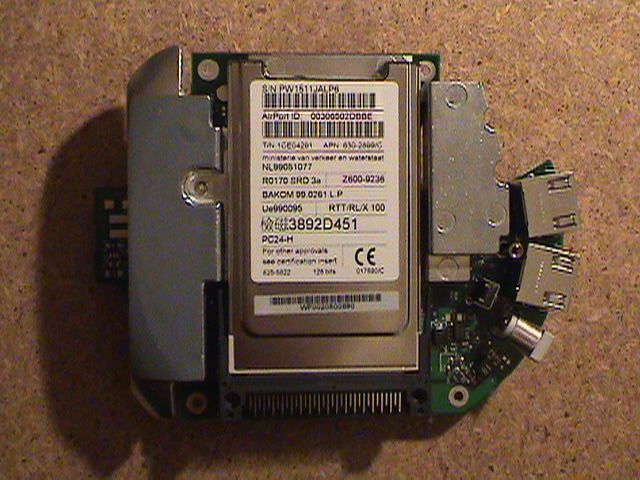
Airport card in base station (enlarge) |
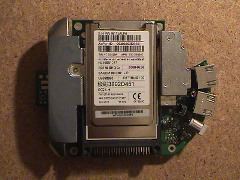
Airport base station & card (enlarge) |
Since the writing of this article, Apple has released the Airport Extreme base station, based on the 802.11g 54Mb/s wireless standard. This retails in the UK for £189.00 (between €280 and €300) for a model that includes a 56Kb/s modem built in, and even better for the type of activity described in this article, an external antenna connector. For £40 less, you can buy it without the modem and external connector. It's compatible with 802.11b wireless cards and really represents excellent value. Having recently got our hands on one of these base stations, it appears that the external connector is of a different type to the Lucent connector used in the previous modle, however close inspection inside the base station reveals that it contains an Airport Extreme CardBus card with the same connector type. Therefore this model could be pigtailed in the same manner as described here.
Here we discuss how we can increase the flexibility of the unit, to give it longer range and to be able to adapt it to a variety of different wireless applications. As the Airport is a very robust unit, this makes it ideal, with a set of home-made antenna attachments, for the wireless network engineer needing to go on-site to install a wireless network for various applications.
Note: the unit we are adapting here is the second generation, "snow-white" Apple Airport base station, which uses the 802.11b standard, and not the new (at the time of writing) Apple Airport Extreme model, which uses the 802.11g standard for a network speed of 54Mb/s.
Tools you'll need:
In addition to the above, if you are making your own home-made antenna attachments, you'll also need the tools for this. Refer to the links in the article for more information.
Parts you'll need:
For more information on these parts, prices and where to get them, go to this page.
Disclaimer: remember that you could damage your base station by taking it apart. We suggest that if you are not confident with doing so, you get someone else to do it for you. Neither the author nor Flakey.INFO accept any responsibility for damage to equipment, yourself or anything or anybody else in the process or aftermath of following these instructions. Also please note that dismantling and modifying your Airport will void the manufacturer's warrant.
Before starting, make sure that your Airport is unplugged from mains, network and phone lines.
Turn the Airport upside down and remove the three screws in its base using a torx no. 7 screwdriver. You can now remove the outer casing of the unit, comprising of three pieces, the top, the bottom and a panel for the external connectors. The inside of the Airport is encased in a metal box with the Airport's small external omni-directional antenna mounted upon it. There are also three plastic cones that allow the activity lights to be seen three the top of the unit. The next step is to remove the external antenna.
Airport with top lid off (enlarge) |
Inside the metal unit showing modem (enlarge) |
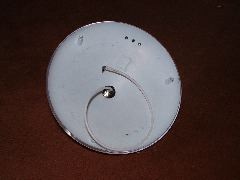
You'll see a short black cable running from the antenna and connected to the wireless card that is inside the unit, carefully unplug this cable. Now you'll see that the antenna is comprised of two components, a metallic strip spanning the top of the unit and fixed to the metal casing with two screws and a small piece of circuitry that is stuck to the metal casing with a double-sided sticky pad.
Remove the two screws holding the metallic string in place using a phillips screwdriver and guard the screws somewhere safe. Using a sharp craft knife carefully cut the sticky pad away from under the small circuit board - it is important not to apply too much pressure which could lead to you bending the circuit board. The antenna will now come off the unit. You should guard this somewhere safe as you may wish to return to using the built-in antenna at some point in the future.
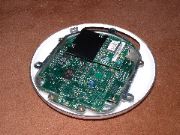
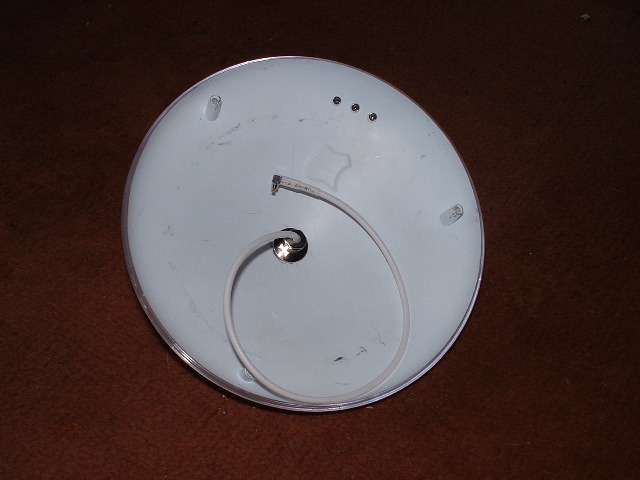
Airport with built-in antenna removed (enlarge)
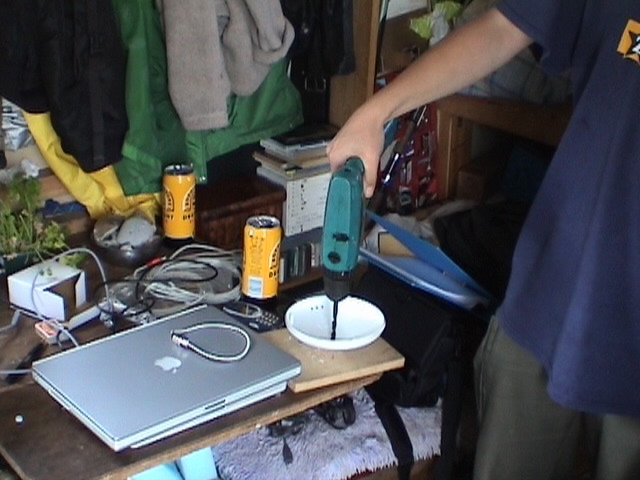
Now we need to make a hole in that beautifully designed lid in order that the pigtail may be fitted. To do this you will need an electric drill with a hole cutter fitted. Carefully place the lid onto a flat surface; making sure that it is not your mother's kitchen table. A good idea is to place a piece of old and fairly thick wood under the lid before drilling, that way you won't drill a whole into whatever's underneath! Remember, never drink before operating power tools.

Drilling the lid (enlarge)
Next we fit the pigtail. Depending on the type of fitting of the pigtail connector, you may find that you have a job making it fit into the small space where the socket is on the Airport. Ours was a right-angled fitting and this required it to be at a slight angle, with the lead coming out in a downward direction. The URM-67 connector end needs to be fitted through the hole you made in the lid by the use of a hexagonal number. You do have a spanner to tighten it don't you?
Lid with pigtail (enlarge) |

Pigtail fitted to Airport (enlarge) |
Now we seal it all up again taking care that we do not 'pinch' the pigtail's cable between the casing and the Airport's innards, nor to bend the cable around too tight a radius. With the internal antenna removed, it should all just about fit back together and you can replace the torx screws - that's why you had to remove the internal antenna in the first place! :)
Note: if you are able to get hold of a pigtail with a straight connector, this would be more appropriate for fitting everything into the case. We used a right-angled connector, which made for a tight fit!

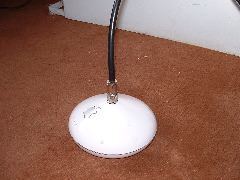
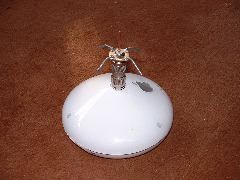
The pigtailed Airport (enlarge)
Now we have our Airport pigtailed and ready accept attachments, what can we fit to it. Here are a few suggestions based on home-made antennae.
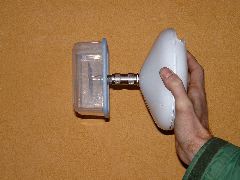
Probably the simplest thing is to attach a URM-67 cable to your Airport in order to run to an external antenna mounted somewhere outside. Obviously the N-type cable connector will fit directly onto the top of the airport.
Airport with cable fitting (enlarge)
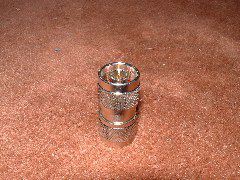
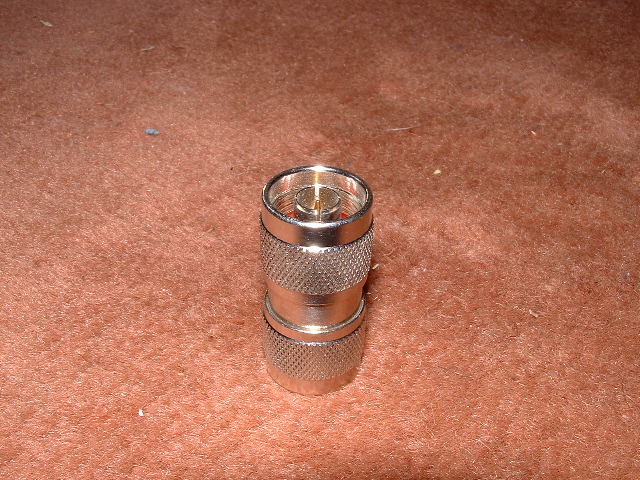
The fitting on the pigtail is a 'plug' connector, and you'll find that your sector, waveguide or omni will have the same plug fitting. This means you'll need to get hold of an adaptor to convert your N type plug connectors. The adaptor has sockets at either end and you can find part numbers and pricing here.
Airport with accessory adaptor fitted (enlarge)
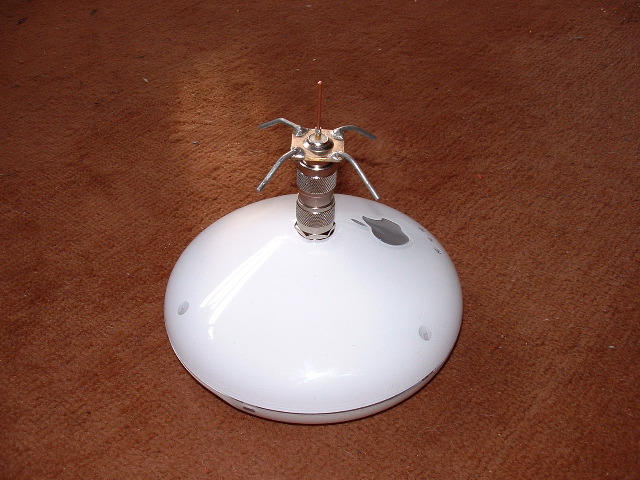
One of the most useful accessory attachments is the quarter wave omni-directional antenna. This means the Airport can be used exactly as it was intended (as an omni-directional wireless base station), but with a good boost in signal strength and hence range. The attachment should at least double the range of your Airport.
Airport with omni attachment (enlarge)
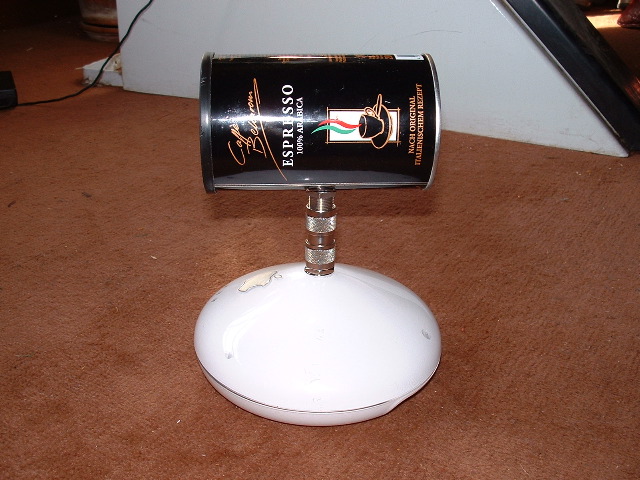
The good old waveguide cantenna can be fitted to the Airport giving you a formidable increase in range - from about 150 metres to well over 2.5 kilometres! The particular model we have used here uses a shorter can than the standard whiskey tin and should therefore give you a slightly wider beam, but slightly less range. If you placed this in a window with the can pointing outwards, you would also get enough signal behind the can to use it to connect.
Warning: the signal strength from the front of the can will be quite high and you are well advised not to point it at yourself or anybody else!

Airport with Waveguide attachment (enlarge)
The Airport comes with a mounting bracket to fix it onto a wall. This makes it ideal for installing somewhere in your house or office with a bi-quad sector antenna. You could even mount it outside using a sector built inside a waterproof container. A tupperware box makes an ideal housing for the sector as can be seen in the photos. If mounting outside, you may need to consider waterproofing the Airport itself. Incidentally, the tupperware box we used was certified for use in microwave ovens, making it ideal for wireless network applications.
Note: the idea for the tupperware housing came from this excellent web site.

Tupperware sector antenna (enlarge) |
Airport with sector fitted (enlarge) |
To hopefully provide some useful results as the how effectively the three antennae are in a built-up area such as where I live (Barcelona, Spain), we tested them in enclosed spaces with separating walls and out in the street. All tests we made using the same set-up: an Apple iBook Dual USB laptop running Debian GNU/Linux and the Wavemon programme in an X terminal. During the tests another X terminal was kept open running a ping back to the base station - it is not only important to have a signal, but also to have a sufficiently good connexion that your computer can communicate over TCP/IP with the base station.
As the three different antennae are quite different in their behaviour (or if you prefer, signal shape), we performed slightly different range tests on each of them.
The first set of tests were performed in an indoor environment. This was done in my flat and readings were taken of the signal strengths when in the same room as, the adjacent room as or the other end of the flat (and several walls later) from each antenna. We also include a test to see what kind of signal one can get from just the adaptor on its own. Note that not all tests we done on every antenna and for each the network speed negotiated over wireless was 11Mb/s
| Omni | Sector | Waveguide | Adaptor | |||||||||||||||||||||||||
| Same Room: |
|
|
|
| ||||||||||||||||||||||||
| Adjacent Room: (one wall) |
N/A | N/A |
|
| ||||||||||||||||||||||||
| Same flat: 3-5 walls |
|
|
| No signal |
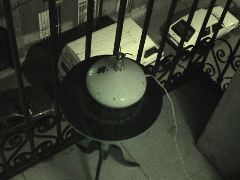
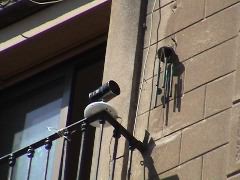
For these tests, the three types of antenna were mounted in various ways on my balcony, which is on the third floor and overlooks the street. Readings for the various antennae were taken at various distances in the street. Due to not having a GPS unit at the time, the distances are only rough. There is a map of the locations here.
|

|
|
| Three different antenna types mounted for testing. | ||
| Omni | Sector | Waveguide | |||||||||||||||||||||||||
| Point 1 (outside) |
|
|
|
||||||||||||||||||||||||
| Point 2 (75m) |
|
|
|
||||||||||||||||||||||||
| Point 3 (200m) |
|
|
|
||||||||||||||||||||||||
| Point 4 (350m) |
|
|
|
||||||||||||||||||||||||
| Point 5 (450m) |
|
|
|
Signal and noise measured in dBm, network speed measured in Mb/s. 'N/S' means no signal.
With a small investment and a bit of time, the Airport can be made into a very useful wireless device. The Airport is a solid and flexible peice of kit that is excellent for constructing the base managed node in a wireless network. With this range of attachments, it becomes the ideal tool for the wireless network engineer on the go! Here are a few of the more important points to remember:
Concept: Mike Harris & Dave Gough
Author: Mike Harris
Copyright (c) 2003 Psand Limited. Permission is granted to copy, distributed and/or modify this document under the terms of the GNU Free Documentation License, Version 1.1 or any later version published by the Free Software Foundation; with no Invariant Sections, with no Front-Cover Texts, and with no Back-Cover Texts. A copy of the license is included in the section entitled "GNU Free Documentation License".
Apple, Apple Airport, Airport Extreme, Mac, Macintosh, OS X etc are trademarks of Apple Computer Corporation. Tupperware is a trademark of Tupperware Corporation. Linux is a trademark of Linus Torvalds. All other trademarks are those of their respective trademark holders.